Thursday, 31 July 2014

Flying Unicorn August Kit Of Month & Add-ons

Get your Creative On! Flying Unicorn is pleased to share with you our August Your Passion, Your Art Kit of the Month. The August kit is based around the gorgeous papers from Pion Designs -My Precious Daughter. With a gorgeous color palette of purples, pinks and ivories, there is no doubt that your creative passion will be overflowing! Without further adieu we present the kit and the creations of the Creative Team.


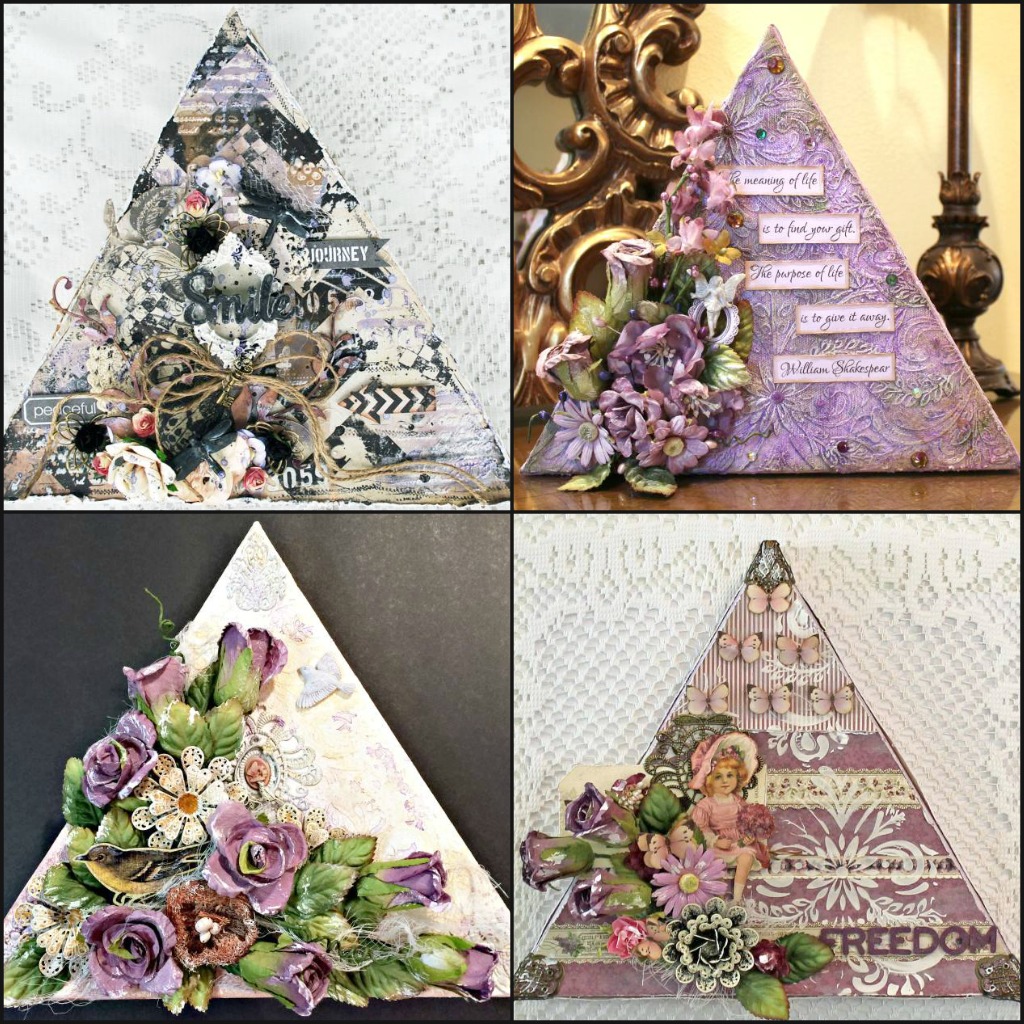
Our main kit is never complete without an off the page project to get you motivated. This month we have a steel glass cased lantern manufactured by Darice that is already fro you to alter. Let your imagination soar and check out some of the amazing inspiration from the Creative Team.


http://www.flyingunicornstore.com/category_s/1376.htm
From the beginner to the avid mixed media artist our Mixed Art add on kit will surely please you. Our Mixed Art kit will always come with a canvas and this month we have included a 12 x12 rectangle one ready for you to get your mojo going. With a splash of color blooms mists from Priam Marketing, a little more glimmer in the pearlex and lots of Flying Unicorn Adornments and Prima roses, its time to get your hands a little messy and create some art!


http://www.flyingunicornstore.com/category_s/1376.htm
Our Small Art Big Passion is all about the love of making cards, tags atc's and anything in between. With the 6x6 collection of Pion paper, to a flower die manufactured by La-La Land Crafts, sweet thanks you, birthday cards , just becuase cards will be reaching friends and family doorsteps soon.


http://www.flyingunicornstore.com/category_s/1376.htm
Flowers, resin, pearl-ex oh my! Our Mixed Passion is a collection of everything pretty to add to the Main kit or the add on kits. The colors and embellishments will enhance your August Kit of the month creations or it can stand alone and you can create something Magnificent . So turn the music up order that pizza for the family and lock your self away while you create some pure yumminess!


Tune in this month with the Uni team to learn and create with us! You do not need the kit to play along or to view any of our videos. There is something to learn and get inspired for everyone.
This month our educators are :

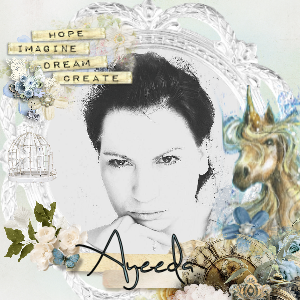
Create with Ayeeda on Friday August 8th when her video goes live on our You Tube Channel and she shows us how to create a piece of art using products from the kit and products by 13@rts.

Robbie has created a fabulous step by step Build a Page Tutorial that will be showcased on our forums on Tuesday August 5th. So make sure to come on by and create something spectacular with her!

Keren will wow us all with a spectacular You Tube video on created a layout using the kit of the month and the add on kits as well . There are so many yummy techniques and tips you will not want to miss out. Keren's You Tube video will be available on August 4th. so mark your calendars, and become a subscriber of our You Tube channel !


Tuesday, 29 July 2014

Grungy Mixed Media Scrapbook Layout For Shimmerz

Hi friends!

Today I want to share a layout I created for Shimmerz. When I was thinking about what I want to do for this layout, I knew that I wanted to work on a different surface than just paper. So I decided that I will work on fabric for this layout. I used Tim Holtz Eclectic Element 12*12 fabric squares. 

I haven't been making really grungy projects for a while, so I made this layout quite grungy. The paper strips I used to layer is Prima's stationer's desk. the colors coordinate with the fabric beautifully. 

Fabric really soaks up the mists and paints, so I applied couple layers of colors and gessoed the area where I want the color to show up more vibrant. To make it grungy, I used Vibez in color Before Dawn to make some area darker so its not vibrant colors everywhere. I also used black ink to do the stamping to add more grungy feelings. 

This start-to-finish video will show you how I made this layout:


Product List: 
- Coloringz: My Bleeding Heart, Pink Stillettos.
-Spritz: Bed Of Roses
-Vibez: Before Dawn
-Dazzerlerz: Pucker Up Pink
-Texturez: Tidi Widi


Thank you for looking.
Love <3
Song

Wednesday, 23 July 2014

Mixed Media Background Technique (WCYDT for Flying Unicorn)

Hi friends!

I am so excited to share with you this mixed media background technique. This technique is great for art journal, card background, and layout background. Basically, it is just a great easy way to create quick mixed media background. I used Shimmerz new product INKLINGZ in this technique. If you want to know the product I used, I introduced it in the beginning of the video :)

Also Please check out Flying Unicorn Store for all kinds of yumminess!! 


1. wet your background paper with water. You don't have to over wet your paper, just a bit water to make sure the fibers are wet, so that when you spray on your mists, they won't be soaked in immediately.

2. Spray your favorite mists on to the paper. Spray as much or as less as you wish.

3. When the surface is still wet, wet INKLINGZ and apply some colors to the background. Because of the unique creamy consistency of INKLINZ, it will push away the background colors where you apply it. So it won't blend in with the background color and will give a really nice color pay off.
However, the edge will still be blended with the background color. Anyways, the background just turned out looking really good. All the mediums will just do all the job for you. 

4. To add more texture onto the background. Splat some water onto the paper. Let the water splatters sit for about 10 second and dry the water drops. Then you will notice the colors where the water splatters sat are lifted off.

Anyways, hope you like this technique and try it out yourself using your favorite colors :) :) 

--------------------------------Product List--------------------------------
-INKLINGZ: Giddy About Green, Purple
-Coloringz: Mama Sings The Blue
-Vibez: Jeni B Bleu


Love,
Song <3

Monday, 23 June 2014

Shimmerz Mixed Media Name Sign

Hi Crafters :))

Today I am so excited to share with you guys my new project for Shimmerz. I created myself a name sign!!! They are very easy and fast to make and you will have soooo much fun making them!!

I want my name sign to really represent me. I LOVE colors, so thats why I made each piece a different color :) I used couple different Shimmerz product of similar color on each piece. All different kinds of products of Shimmerz really go together nicely color wise or texture wise. 

For the layering, all I did is to rip out a piece of printing paper, use my paper crimping tool to give it texture, then I stamped it to give it more depth. Behind the paper, I used either aplique, cheesecloth, threads to create another layer of texture.

Anyways, hope you like this project :)) Make one for yourself and you will see how much fun it is to play around with colors and texture.

Here is the tutorial:


Thank you so much for looking
Stay Creative <3
Song

Friday, 13 June 2014

Mixed Media Altered Canvas and Card For Flying Unicorn

Hi Crafters :)

In this post, I will share the Mixed Media Altered Canvas I created using June Mixed Art kit add on for Flying Unicorn. This kit is so much fun to play with. Everything you see on the canvas beside the big manor house creation flower is all from the kit. However you can get the manor house creation flowers in Flying Unicorn as well.

I also made a card using the same kit because it is so yummy I can't stop playing with it. I have a photo tutorial on how I made this card. 

---Here is the Mixed Media Canvas---

Tutorial:

I cut out some paper strips and frame from Riddersholm Paper you can get from Flying Unicorn and layered them onto the background. All the flowers except the big beautiful Manor House Creations flowers are all from the kit. Of course you can get the Manor House Creations flowers from Flying Unicorn. I painted the metal pieces with the gesso in the kit, and colored with the paints in the kit.


---Here is the mixed media card---


This is the photo tutorial on how I made it.
The photos are really self explanatory, so I hope this helps.

Use the sprays in the kit and spray the background to add colors. Then add some cut out from the paper to create the layered background.

 Use the modeling paste in the kit and the stencil from the kit to create some texture.

 Use the sprays and paints in the kit to add more colors.

Put down the embellishments and color them with the paints and sprays from the kit.
  

Thank you so much for looking :)
Please check out our gorgeous Flying Unicorn kits!!!

Stay Creative <3
Song